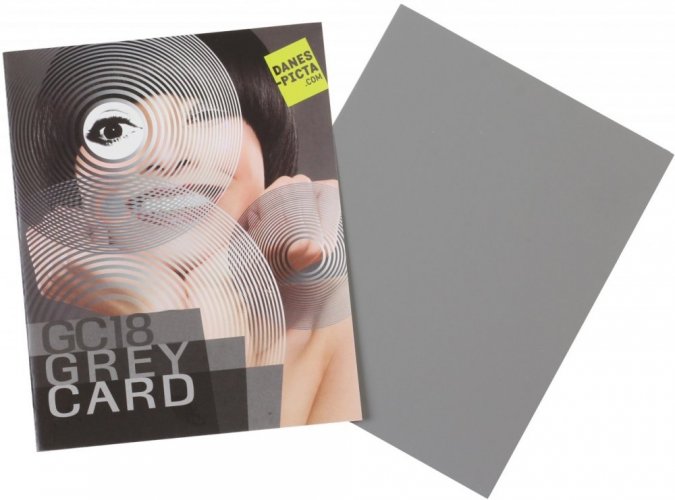
Grey card, matt surface, perfect neutrality, 18% reflectancy, 20x25cm (GC18)
18% gray calibration card ... Read More
The gray card is a tool for determining the lighting conditions on the stage. It is neutral gray, size 20x25cm, on a solid surface.
Gray calibration cards are suitable for:
- determining the correct exposure
- measuring the contrast of the scene lighting
- color balancing in duplication procedures
- Protect the card from moisture, dust, light and especially mechanical damage.
Instruction Paper for Photo and Video Application of Gray 18% Calibration Card 20x25cm GC18
Grey card is designed for photographers to aid in determining lighting conditions on the scene and in balancing image in
A) EXPOSURE DETERMINATION.
Place the 18% card so that it received the same light as your subject, without shadows and glares on
The Grey Card is designed
- to determine EXPOSURE LEVEL
- to measure LIGHTING RATIO
- to evaluate COLOUR BALANCE
- to set up WHITE BALANCE
B) LIGHTING RATIO
is
- Turn off the main light to measure fill-in illumination. Aim the card toward the camera. Record the reading.
- Compute difference of both readings in stops. The table will give you the lighting ratio:
| stops difference | lighting ratio | stops difference | lighting ratio |
| 1/3 | 1.3 : 1 | 2 1/3 | 5 : 1 |
| 2/3 | 1.6 : 1 | 2 2/3 | 6 : 1 |
| 1 | 2 : 1 | 3 | 8 : 1 |
| 1 1/3 | 2.5 : 1 | 3 1/3 | 10 : 1 |
| 1 2/3 | 3 : 1 | 3 2/3 | 13 : 1 |
| 2 | 4 : 1 | 4 | 16 : 1 |
C ) COLOUR BALANCING
- FILM CAMERA
Place 1 8% card in your scene as a reference that records the colour ofilluminator . Colour variations of lighting are the major reason for balance variance. Be sure, that the card is illuminated in the same way as the subject. By carefully placing the card it can be masked out of the finished print, or simply make two exposures one with and one without the grey card. - DIGITAL CAMERA
Take a shot using the same method as above. Open Photoshop; open your grey card image. Choose IMAGE > ADJUSTMENT > LEVELS, click Option, choose Middle Grey patch, set levels L=50, a=0, b=0. Position theeye dropper over the grey card and click. You should see an instant improvement in colour. Leave the LEVELS dialogue box open, then click on SAVE. Use this saved "Custom Colour Balance" for all shots taken under the same lighting conditions.
D) SETTING THE WHITE BALANCE (DIGITAL CAMERA)
Before taking a shot (preset):
- Set the White Balance switch on your camera to
appropriate position (Custom/PRE). Point the camera to WHITE side ofcard (in the same way as for exposure determination (A)). Measure white readings and save them to "white memory" of the camera. - Use this "Custom White Balance" for all shots taken under the same lighting conditions.
| Sortiment | Studio |
|---|---|
| Kategorie | Product photo |